What It's Actually Like to Sit Exposed in the Chair
The minute-to-minute mechanics of a session on a normally-covered area: how artists drape and cover you, what to wear, how long you're actually exposed, and how to speak up if something isn't right.
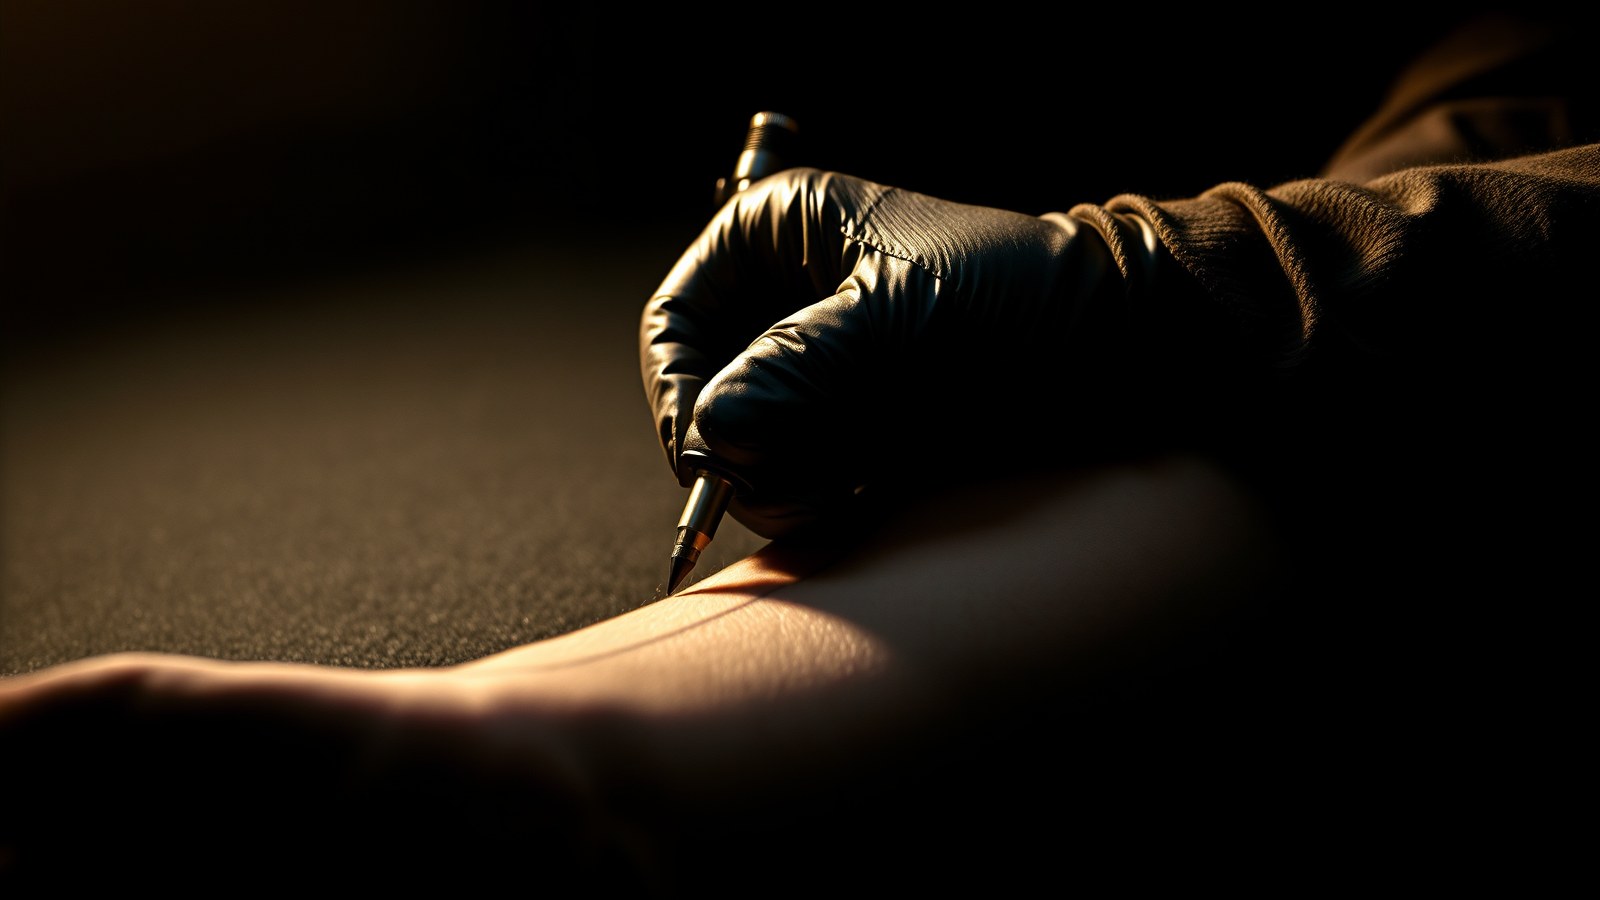
There’s a specific kind of dread that shows up a few days before a rib or hip appointment: the slow realization that you’re going to have to take off your shirt, or pull down your pants, in front of a stranger with a machine. It’s not the pain people usually worry about at that point. It’s the logistics.
Most guides gloss over this. They’ll tell you the ribs hurt and the hip is “intimate” and leave you to fill in the blanks. This isn’t that guide. This is what actually happens, minute to minute, when you’re getting tattooed somewhere normally covered.
What “exposed” actually means in practice
First: it’s almost never as all-at-once as you’re imagining.
Artists work in sections. If you’re getting a rib piece, they’ll have you lie on your side or sit sideways in the chair, lift or remove whatever’s covering that section, and place a paper towel or drape over anything they’re not actively working on. The goal from their end is access to the stencil area — not a full view of everything else.
For a chest piece, you’ll typically have the relevant portion of your shirt off or shifted, with a folded paper towel or disposable drape positioned over adjacent areas. For hip and lower stomach work, the waistband gets folded down and a drape covers the rest. For inner thigh work, you’ll usually lie back with a drape across the lower abdomen and the other leg.
This isn’t them being gallant. It’s practical: they need a clear, unobstructed work surface, and anything interfering with that — whether it’s fabric or just visual noise from skin not being worked — is something they’d rather cover anyway.
The setup, before the machine starts
Before any needle touches you, there’s a setup phase: shaving the area, cleaning with a green soap or similar antiseptic, transferring the stencil, and having you stand or sit in whatever position lets you both verify the placement looks right.
This is the moment you’re most exposed for the longest continuous stretch — usually two to five minutes — because the artist needs to see the whole area at once to check positioning and symmetry. If the piece extends across both sides of your ribs or wraps around your hip, they’ll need to see the full span before they commit to stenciling.
This is also the best time to mention preferences. “Can you keep me covered when you’re not working that section?” is a completely normal thing to say during setup. Say it before the machine starts, not after — it’s easier to build into the session structure from the beginning.
What to wear
This is where people make the most avoidable mistakes.
For back work (upper, mid, or full back): Wear a bra or bralette with a clasp, not a pullover sports bra. Anything you can clip open without pulling over your head is easier to manage mid-session — and easier to fasten if you need to step out for any reason. You’ll often keep the bra on with the clasp undone, holding it loosely in front during work, or removed entirely while a drape covers your front. A loose button-front shirt is also worth considering — easy to pull off, easy to put back on for breaks.
For rib and side work: Loose top, nothing form-fitting. Stretchy cami you can tuck up works fine. For women, an underwire bra will need to be out of the area — it’ll press into your ribs and create tension lines. A bralette or soft-cup bra you can shift out of the way is better.
For hip, lower stomach, and pelvic work: Bottoms with a waistband you’re willing to fold down. Avoid anything with a thick, rigid waistband — it leaves pressure marks that make positioning harder. High-waisted underwear or shorts work well because they roll down cleanly. Thong-style underwear is commonly worn for lower hip or butt work because it stays out of the way without removing anything.
For inner thigh and upper leg work: Loose shorts, or pants with legs loose enough to roll up. Leggings are harder to manage — they grip and don’t roll neatly. Athletic shorts you don’t care about are ideal.
The general principle: Wear things you can shift, roll, or remove without ceremony. You’re going to be repositioning multiple times. Don’t add friction by wearing something complicated.
How long you’re actually exposed
Less than you’re anticipating, but longer than you’d like.
During active work, the artist is focused on a specific area — sometimes as small as a few square inches at a time — and everything adjacent is usually covered or at least not in their sightline. The time you’re most exposed is:
- Stencil application and placement check (2–5 minutes, stationary)
- Repositioning between passes (30–60 seconds each time)
- After a section is finished and before you’re ready to take a break (intermittent, seconds at a time)
During the actual tattooing, you’re typically lying or sitting still, the artist is looking at the work surface, and whatever’s adjacent to the stencil area is covered or out of the frame. You’re not lying there uncovered for an hour while they work — it’s a series of short exposures interrupted by coverage.
For long sessions (3+ hours), artists will generally offer breaks every 45 minutes to an hour. Some people use those to get dressed and walk around. Others stay in position. Either is fine.
What artists actually see, and what they don’t
This deserves a straight answer because it’s usually what the worry is really about.
Artists are looking at the work surface. That’s not a reassuring platitude — it’s literally where their focus is. The stencil and the needle position occupy their full attention in the way that a surgeon focuses on the incision site and not the patient’s face. Adjacent skin is registered as spatial context, not as something they’re cataloguing.
That said: they see you. They’re professionals who’ve been in this situation thousands of times, but they’re not oblivious. What changes with experience is that they stop thinking about it. The way a doctor stops thinking about it. If you’re self-conscious about stretch marks, surgical scars, asymmetry, or anything else — those things exist in your awareness far more than in theirs. Most artists have worked on every body type and won’t comment unless you bring it up.
If you have a scar that intersects with the stencil area, mention it before the session — not because they’ll be surprised, but because it affects ink behavior and they need to plan around it. That’s a practical conversation, not an embarrassing one.
If you need to reposition or stop
The most important thing to know: you can stop the machine at any time.
“Can we pause?” is sufficient. You don’t owe a reason. You might need to cough, reposition your arm, take a breath, or just need thirty seconds where nothing is happening. Artists know that sustained stillness under a needle is genuinely hard, and brief interruptions don’t disrupt the work.
For repositioning mid-piece — because your arm fell asleep, or your back is starting to lock up, or the angle isn’t sustainable — just say so. “My shoulder is cramping, can I shift?” They’d rather reposition once than have you twitch unexpectedly while the needle is running. A twitched line is harder to fix than a pause.
If you’re uncomfortable with the coverage — too exposed, or an area you didn’t anticipate being seen — you can say that too. “Can you cover [X] while you’re working on [Y]?” is a professional request in a professional setting. You’re not making it weird. If you find it hard to say out loud, you can also bring it up during the initial setup before the machine starts: “I’m a little self-conscious about the coverage, can we make sure I’m draped when you’re not actively working?”
For the full picture on how to communicate with your artist during a session — including when something genuinely hurts or isn’t right — see our guide on how to actually tell your artist something’s wrong mid-session.
A note on professionalism and the rare exception
Most artists are professional. They’re focused on the work, they’re not going to make comments about your body, and they’re going to handle the session the way a skilled technician handles any technical job.
But shops vary. If something feels off — a comment that was unnecessary, coverage that feels more exposed than the situation requires, a dynamic that’s making you tense — that’s information worth acting on. You can ask to reschedule. You can ask a different artist to take over. You can leave. The needle going in doesn’t create an obligation to stay.
If you’re booking a placement on a sensitive area for the first time and you’re uncertain about the shop, it’s worth asking during consultation: “How do you handle coverage for this placement?” The answer will tell you something. A confident, matter-of-fact response is a good sign. Vagueness or deflection is worth paying attention to.
The specifics of where a tattoo sits on your body affect the whole session experience — not just the pain. Our tattoo placement guide covers which areas have functional considerations beyond aesthetics, and the pain by body part breakdown is worth reading before any placement that’s new territory for you. For logistics before the appointment — what to bring, what the general flow looks like — the appointment etiquette guide fills in the rest.