Tattoo Pain by Body Part: What Actually Hurts and Why
Ribs, spine, inner arm, feet, behind the ear. Why those spots hurt and what the sensation actually feels like. Plus what genuinely helps during the session (breathing, positioning, session length) versus what doesn't.
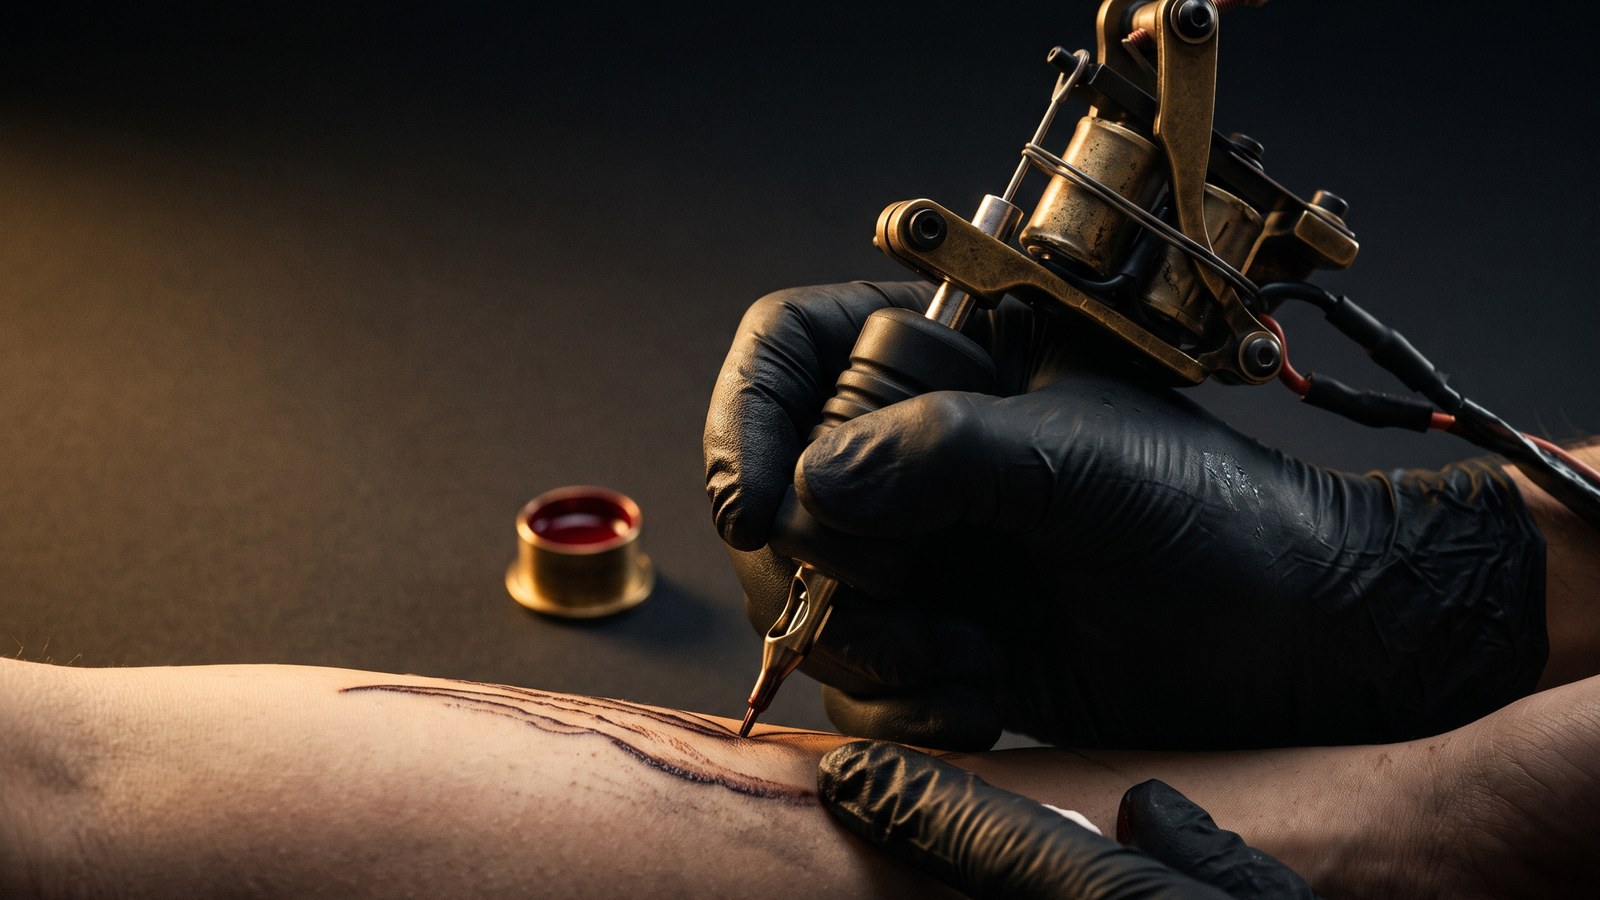
Pain is one of those tattoo topics where everyone has an opinion and most of the opinions are useless. Online rankings collapse complex physical experiences into numbers (ribs are a 9, outer arm is a 3) without explaining what a 9 feels like, why it’s a 9, or what you can actually do about it in the chair.
We already have a body-location pain reference that maps the mechanics: skin thickness, bone proximity, nerve density. Read that first if you want the chart. This guide is about the experience itself: what the sensation actually is in the spots people ask about most, and what you can do in real time that helps versus what doesn’t.
What makes a painful spot painful
Three things, and they interact differently in different locations:
Thin skin over bone. The needle is vibrating. When there’s fat and muscle under the skin, that vibration dissipates. When there’s bone, it travels, and you feel it deeper and wider than the actual tattoo site. Ribs, spine, sternum, ankle, and skull all work this way.
Nerve density. Certain areas exist to feel things precisely: your hands, feet, and face are packed with sensory nerves because your nervous system uses them to navigate the world. Tattooing those areas is the needle hitting a much denser network. The sensation is sharper and more electrical rather than the dull ache you’d get on a fleshier area.
Skin that moves. The inner elbow, back of the knee, and armpit are all joints where skin folds and stretches. Tattooing there means the needle is working on skin that wants to slide. The sensation is intense partly because those areas are just uncomfortable to hold still for an extended time.
The spots people actually ask about
Ribs
The most-asked-about painful placement, and the reputation is earned. What makes rib sessions hard isn’t that the pain is unbearable in a sharp way: it’s that every breath shifts the skin slightly, and you cannot stop breathing. The sensation is a deep vibration that radiates outward, and it compounds over the course of a session as the skin gets worked over. Hour three of a rib piece feels materially worse than hour one.
The useful thing to know: slow, deliberate breathing helps more here than anywhere else. Not because it reduces the sensation, but because the alternative, holding your breath or breathing shallowly from anxiety, makes the muscle tension worse and the skin movement more erratic. Your artist is also managing your breathing, watching the skin rise and fall. Staying consistent makes their job easier and the lines cleaner.
Positioning matters too. Lying flat on your back with your arm raised is the most common approach for a side rib piece. If you’ve never held your arm over your head for two hours straight, know that shoulder fatigue becomes its own problem. Mention it to your artist before you hit the wall.
If you’re seriously considering numbing cream for ribs, it’s one of the places where it works best: large flat surface, easy to apply under plastic wrap. Zensa is the formulation most shops stock if they carry one at all; Ebanel is comparable at roughly half the cost.
Spine
People are often surprised by how intense a spine piece is. On paper it sounds like a back tattoo, but the spine is literally bone running directly under thin skin with almost no padding. The vibration is significant, and the position (face-down for a long period) adds a fatigue dimension that a chair session doesn’t.
The other thing about spines: they’re often long pieces, and a full spine from neck to sacrum can take multiple sessions. Trying to push through too much in one sitting usually produces worse line quality in the later hours as the skin swells and you lose the ability to lie completely flat. Two sessions is often better work than one.
A detail that doesn’t come up in pain charts: the upper thoracic spine (between the shoulder blades) tends to hurt more than the lower lumbar spine. The lower back has more tissue; the upper back is closer to the surface.
Inner arm (elbow ditch)
The inner elbow, sometimes called the elbow ditch, is its own category of unpleasant. The skin there is thin, elastic, and sits directly over the bicep tendon. The sensation is sharp and electrical rather than the dull ache of a fleshy area. Most people describe it as more startling than painful.
The practical issue is that the arm has to be held in an extended position, and after thirty or forty minutes the elbow joint starts to complain independently of the tattoo. Good communication with your artist about getting micro-breaks to flex the arm can make a real difference.
The inner forearm generally isn’t as bad as the ditch: it’s fleshy enough that it behaves more like a standard arm piece. The inner bicep is worse than the forearm but less bad than the ditch itself. Worth understanding the specific location before assuming “inner arm” is uniformly intense.
Feet and ankles
Foot tattoos sit in a category of their own because the skin is directly over bone with almost no padding, and the foot’s sensory nerve density is high (your feet are built to feel surfaces). The top of the foot is one of the more consistently brutal spots across different pain tolerances. The ankle is similar (bony with thin skin) and both spots are also among the fastest to fade, which means a foot or ankle tattoo may mean repeat visits that weren’t part of the original plan.
What doesn’t help here: trying to distract yourself by moving. The foot wants to flex and pull away, and the instinct to curl your toes or shift your foot is strong. Having something to grip, the chair arm, your own knee, gives the body somewhere to direct that reflex without actually moving the tattooed area.
Footwear logistics also matter more than people plan for. You cannot wear a sock or a closed shoe over a fresh foot tattoo comfortably. Sandals with minimal straps over the tattooed area, or no shoes at all, for the first several days. If you’re getting a foot piece in winter, think about this before you book.
Behind the ear
The skull is bone. The skin behind the ear is thin and not particularly fleshy. The combination means the vibration from the needle has nowhere to go except sideways through your skull, which produces a sensation some people describe as the sound as much as the feeling: a literal buzz you hear more than feel in the usual way.
Behind-the-ear pieces are also small, which is the one saving grace: sessions are usually short. The intensity is real but the exposure is limited. Numbing cream is harder to apply effectively here: the curved surface and proximity to the hairline make coverage uneven. Most people who get this placement skip the numbing and just accept that it’s twenty minutes of intense and then it’s over.
The social awkwardness nobody mentions: the behind-the-ear position requires your head to be at an angle for the duration, and having someone working inches from your ear with a machine running is loud and disorienting in a way other placements aren’t. Knowing it’s coming doesn’t make the sound less present, but it helps not to interpret it as something going wrong.
What actually helps in the session
Breathing. Not special breathing, just not holding your breath. The anxiety reflex is to tense up and go shallow, which makes everything worse. Slow exhales when the needle is moving. This is not woo; it’s physiology.
Session length. More than anything else, the cumulative hours are what break people. A difficult placement in a two-hour session is manageable for most people. The same placement in a six-hour session is a different experience after the adrenaline wears off around hour two. Booking a shorter initial session on a painful placement and coming back is almost always the better strategy if the piece allows it.
Eating before you go. Blood sugar drops mid-session in a way that compounds the experience: lightheadedness, nausea, temperature sensitivity. A real meal two hours before is one of the most consistent things that helps. Not a snack. An actual meal.
Telling your artist. This is the one people are most reluctant to do. A thirty-second break doesn’t ruin a tattoo. Passing out does. A flinch at the wrong moment does. Artists know how to read clients, but they can’t read minds, so if you’re at your limit, say so. See also: how to tell your artist something’s wrong mid-session.
What doesn’t help
White-knuckling through it. Tensing up concentrates the pain rather than diffusing it. Bracing physically also makes you harder to work on.
Alcohol the night before (or worse, day of). It thins the blood and makes you bleed more, which makes the artist’s job harder and the final result worse.
Scrolling your phone mid-session. Looking down with your head bent while getting neck or behind-the-ear work shifts the skin. More generally, the distraction doesn’t work as well as people hope; you’re usually more aware of the tattoo while trying not to be.
Waiting until you’re done to drink water. Hydrated skin is easier to work on, heals better, and you feel less rough during a long session. Bring water and use it.
For a placement breakdown by location with pain ratings and style recommendations, see the full pain chart by body location. For first-placement logistics, the first tattoo checklist covers the pre-appointment preparation in more detail. If you’re considering numbing cream for a sensitive placement, the full numbing cream guide covers what works and what doesn’t.
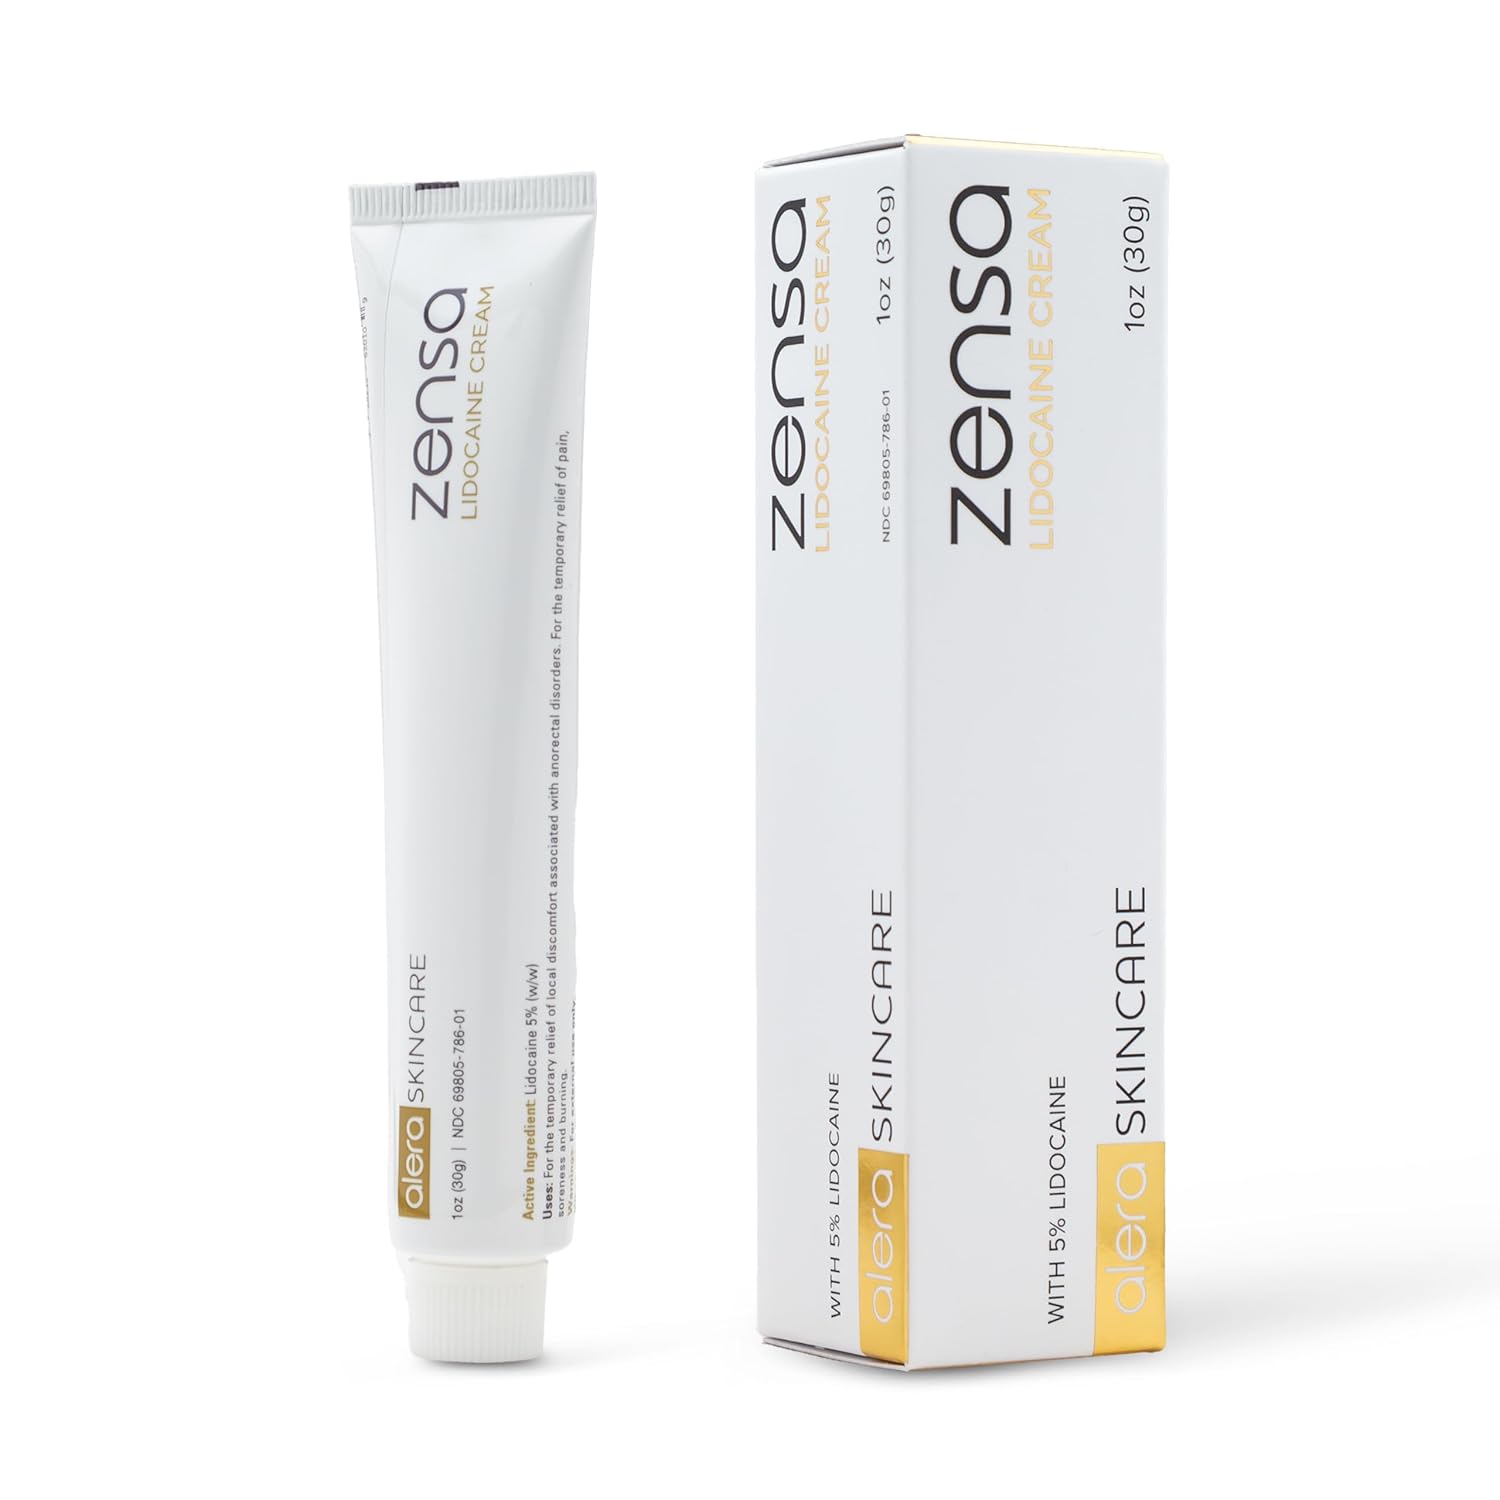
Numbing Cream 5% Lidocaine
