Tattoo Pain Chart by Body Location (Ranked by People Who've Been Through It)
Which spots actually hurt most? We break down 14 placements by pain type, why they hurt, and what that means for your choice of style and artist.
Most tattoo pain charts are useless. They give you a 1-to-10 number and a color-coded silhouette, and they treat “rib pain” and “ankle pain” like they’re the same kind of suffering. They aren’t. The rib feels like a deep vibrating ache that gets worse as the session goes on. The ankle feels like a continuous high-frequency scrape over bone. They’re both unpleasant. They are not the same problem, and they don’t call for the same preparation.
Here’s a chart that explains why each spot hurts, what kind of pain to expect, and what that means for the design and artist you should pick.
How tattoo pain actually works
Three things drive how much a placement hurts:
- Skin thickness. Thinner skin → less padding between needle and nerves. Inner-arm skin is thinner than outer-arm skin. Top-of-foot skin is thinner than calf skin. This is the biggest single factor.
- Bone proximity. Needle vibration that travels through bone gets amplified. Ribs, sternum, ankle, spine, and skull all hurt more than equivalent fleshy areas because the vibration has nowhere to dissipate.
- Nerve density. Hands, fingers, feet, and the face have unusually concentrated sensory nerves — they’re built to feel detail. Tattooing them is like running sandpaper over a fingertip.
A fourth factor — your own pain tolerance — matters less than people think. Tolerance shifts what’s bearable, but a rib piece is going to be the hardest part of any session for almost everyone.
The chart
Lower pain — most people sit these without much trouble
Outer upper arm / bicep. Thick skin, evenly distributed muscle, no bone close to the surface. The default “first tattoo” recommendation for a reason. Pain is closer to a sustained scratch than anything sharp. You can hold a conversation through a 2-hour session here.
Outer thigh. Same logic — thick skin over a layer of muscle and fat. Slightly more sensitive than the outer arm because the skin is less weathered, but still in the easy tier. Good placement for first large pieces because there’s a lot of canvas.
Upper back / shoulder blade area. The top of the back, around the trapezius and over the shoulder blade, has dense skin and large muscle groups. Pain is dull and steady. The lower back is a different story — see below.
Medium pain — uncomfortable but manageable
Inner forearm. Thinner than the outer forearm but still padded. The pain is sharper than the outer arm — more like a hot scratch than a dull burn — but stays manageable for most people. A common spot for script and small illustrative work.
Calf. Muscle-rich, but the front of the shin is a different animal (see “high pain”). The calf muscle itself is fine. Sessions over 90 minutes here can produce a deep muscle ache as the calf tightens up from staying still.
Shoulder cap. The deltoid is meaty and the pain is dull. Where it gets worse is when the artist works near the collarbone or up onto the trap — those areas pinch quickly.
Chest (men, outer). The pectoral muscle takes a needle reasonably well as long as the artist stays away from the sternum and nipple. Pain stays in the medium tier on the outer pec.
Chest (women). Generally rated more painful than for men, primarily because of breast tissue: skin stretches differently, glandular tissue is more sensitive, and the underside of the breast (often part of larger chest pieces) is unusually nerve-dense. Plan for a higher pain tier and budget shorter sessions.
High pain — bring strategy
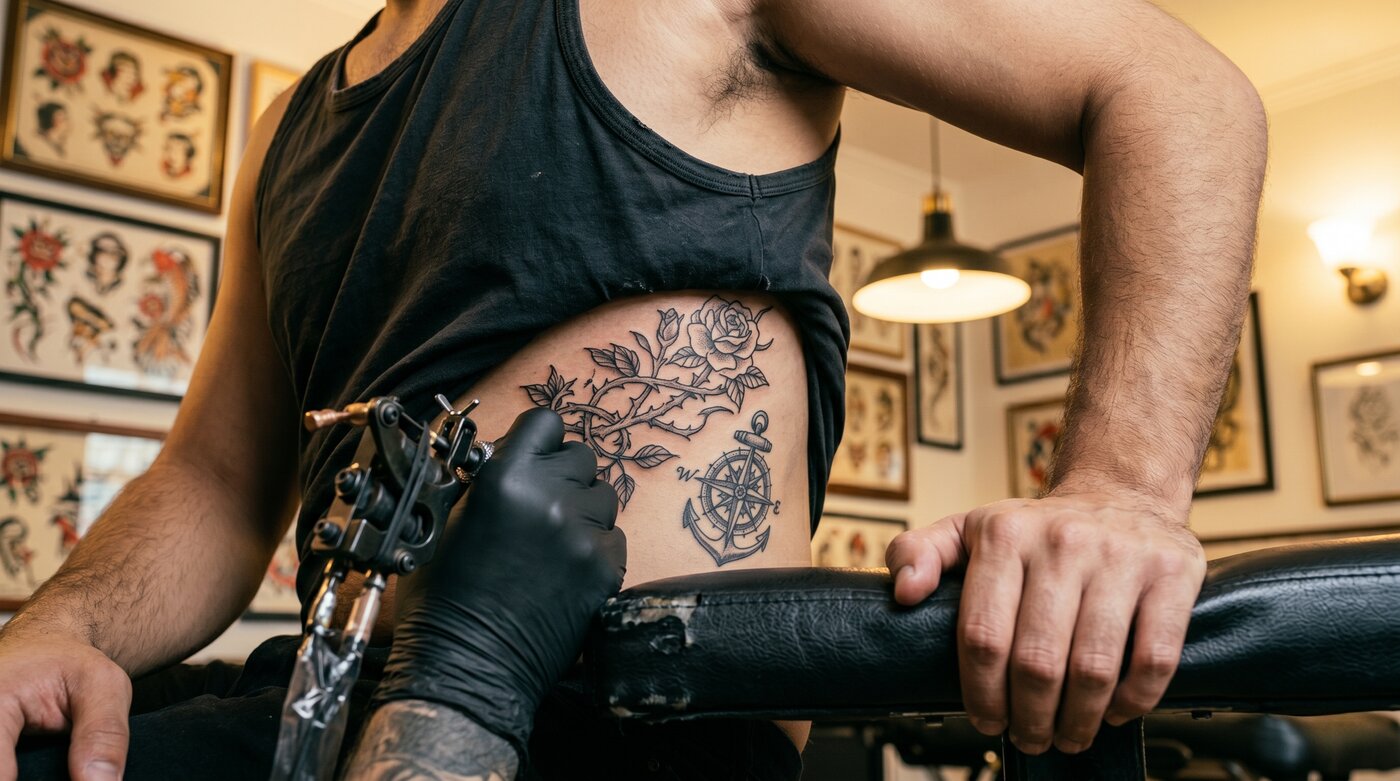
Ribs. This is the placement people warn you about, and the warnings are correct. Skin is thin, bone is right there, and breathing moves the area constantly. The pain is a deep vibrating ache that worsens with session length because each breath becomes its own micro-flinch. Most people cap rib sessions at 2–2.5 hours regardless of plan. If rib placement is calling you, numbing cream is genuinely worth considering — this is one of the placements where it earns its keep.
Inner bicep. Thin skin, lots of nerve endings, and almost no fat layer. The pain is sharper and more electric than the rib’s ache — a different category of bad. Script and fine-line work survive here better than dense color packing because you spend less total needle time per square inch.
Elbow ditch / inside of elbow and back of knee. Tendons and a major nerve bundle run right under the surface. Many artists actively avoid these spots in long sessions. The pain is sharp with an occasional electric jolt when the needle hits over a nerve. Heals slowly because the joint flexes constantly.
Spine. The vibration travels straight up your vertebrae. Even people with high tolerances tend to find a spine session uniquely difficult — it’s not just the local pain but the full-body resonance. Best done in shorter sittings.
Sternum. Thin skin directly over bone with no padding. Comparable to ribs but worse for the duration of bone contact. Often paired with chest pieces; expect to break it up across multiple sessions.
Lower back. More painful than the upper back because skin is thinner and the kidney/muscle area gets fatigued from being stationary. Less brutal than ribs, but harder than most people expect from “back” as a category.
Extreme pain — short, simple, or skip
Hands and fingers. Among the densest concentration of sensory nerves on the body. Add to this that the skin sheds and renews quickly, which is why finger tattoos famously fade and blur — you’re putting ink into tissue that is constantly turning over. Pain is sharp and unrelenting; sessions are usually short out of necessity. Honest take: hand and finger tattoos look great in photos and rarely look great two years in.
Feet and ankles. Top-of-foot skin is some of the thinnest on the body, sitting right over a network of small bones, tendons, and nerves. Ankle bone tattooing produces a vibrating bone-pain that most people find unique — not the worst they’ve ever felt, but the most “wrong” feeling. Healing is also miserable here because shoes and socks rub the area constantly.
Neck. Nerve dense, thin skin, and visually visible — which adds psychological intensity to the physical pain. The side of the neck is more bearable than the front or back of the neck. Healing is awkward; hair, collars, and pillows all rub the area.
Head and face. Thin skin directly over skull bone, plus the face has a level of nerve density approaching the hands. Some clients describe head sessions as more disorienting than painful — the vibration through the skull is unsettling in a way that’s hard to predict.
Armpit. Some artists won’t tattoo it at all. Sweat glands, lymph nodes, hair follicles, thin skin, and a nerve-dense area combine to make this one of the few placements where the pain is borderline unbearable. It also heals badly — moisture, friction, and antiperspirant interact in ways that can ruin the work. Strong recommend against unless you have a specific reason.
What pain level should change about your plan
Choose styles that match the placement’s pain budget. Bony, painful areas (ribs, spine, sternum, foot) suit fine-line work — less needle time per square inch, less ink saturation needed, and fine-line tends to age more gracefully on areas that don’t hold ink as densely. Save heavy blackwork and bold traditional for meaty areas (outer thigh, calf, upper back) where you can sit through long color-packing passes.
Pick an artist with relevant experience. A great fine-line artist who rarely does ribs will struggle on ribs, and so will you. For high-pain placements, ask to see specifically rib/spine/foot work in their portfolio — not just general examples. How to choose a tattoo artist has the full vetting checklist.
Plan session length around the placement, not the design. A 4-hour rib session is a different ask than a 4-hour outer-thigh session. Many high-pain placements get split across multiple sittings of 90–120 minutes. Build that into your schedule and your budget upfront.
Numbing cream pays off most where pain is bone-driven. Topical 5% lidocaine creams penetrate the upper skin layers, which is exactly where line work sits. They help less with deep shading and color packing because the needle goes deeper than the lidocaine reaches. For ribs, spine, sternum, and hands, that line-work boost is meaningful. Either Zensa or Ebanel will do the job — see the full numbing cream review for application protocol. Tell your artist before you show up.
Healing is part of the pain equation
The pain doesn’t end when you leave the chair. Placements that flex, sweat, or rub against clothing heal harder. Ribs heal slow because every breath stretches the skin. Hands and fingers heal poorly because you wash and use them constantly. Feet are a healing nightmare — shoes are basically friction machines. Areas with little body fat (tops of feet, knuckles, sternum) hold ink less consistently and may need touch-ups within the first year.
Saniderm or another medical-grade tattoo bandage is especially helpful on placements that move a lot or sit against clothing — it locks in the wound’s natural environment and reduces the friction-induced micro-damage that causes patchy healing on rib, spine, and hand pieces. The tattoo healing stages guide walks through what to expect across the full two-week heal.
The honest summary
Pain is real, but it’s also predictable. People who suffer worst are usually the ones who didn’t expect it — they planned a 5-hour rib session like it was a 5-hour outer-arm session, hit hour two, and broke. People who sit 4-hour sessions on the worst placements in the world are usually people who built a realistic plan: shorter sittings, an artist they trusted, and prep that took the edge off the worst stretches.
If this is your first tattoo, start somewhere in the easy or medium tier. Build up to the harder placements once you know how your body responds. The first tattoo checklist has the rest of the prep — sleep, food, hydration, what to wear, what to bring.
A tattoo on a painful spot doesn’t make it more meaningful. It just makes it more of an ordeal. Pick the placement that works for the design, then plan around the placement’s actual pain profile. That’s how people end up with rib pieces they’re proud of instead of rib pieces they regret sitting for.
Numbing Cream 5% Lidocaine
Affiliate link · We earn a commission at no extra cost to you
Check price on Amazon →
5% Lidocaine Numbing Cream
Affiliate link · We earn a commission at no extra cost to you
Check price on Amazon →
Adhesive Bandage Roll (4" × 8 yd)
Affiliate link · We earn a commission at no extra cost to you
Check price on Amazon →